|
Exercise for sheet metal with angle and the standard parts library:
In addition to the help in text form, you will find small summarising videos in the appropriate places.
Watch out for this Symbol: 
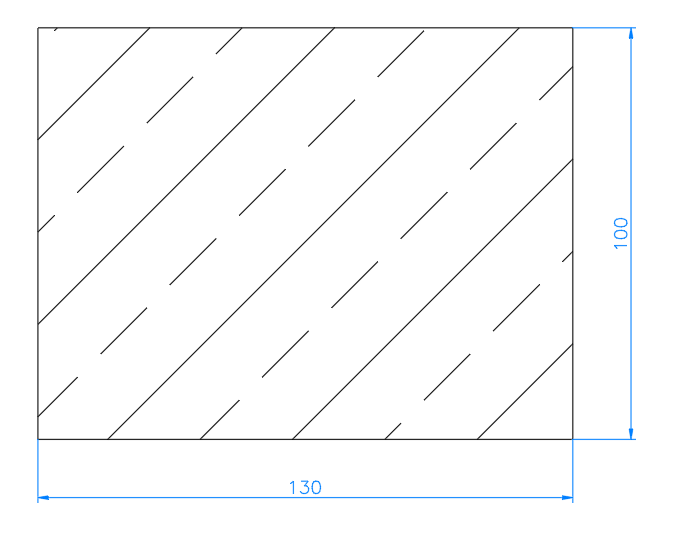
Desired result:
Start with the "Concrete"  command to draw a rectangle. command to draw a rectangle.
|
Command:
First corner or <RETURN> for non rectangular object Click on any point in the drawing
Second corner @130,100 or 130 <TAB> 100 <TAB> <ENTER>
Hatch style <ANSI33>
Factor <5>
|
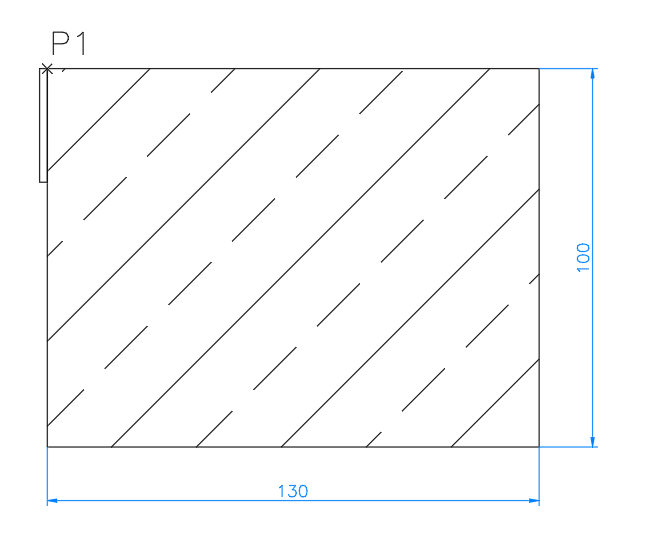
Draw with the "Sheet"  command a 30 mm long sheet to the left of the concrete. command a 30 mm long sheet to the left of the concrete.
|
Command: The following dialogue opens:
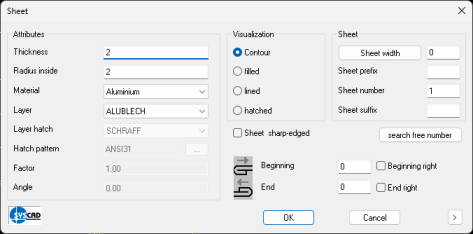
Set all parameters as required and confirm with OK
First point: Click on P1
Next point <ORTHO on> Move mouse down - type 30 <ENTER>
Direction or <ENTER> for centre: Click the left mouse button to the left of the concrete to draw the sheet to the left.
Next point : <ENTER> or right mouse button to finish
|
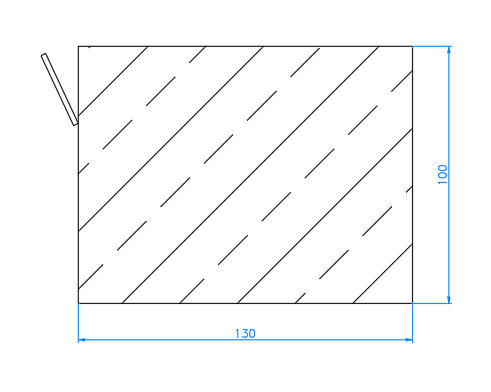
Rotate the sheet metal around the lower grip point by 25°.
|
Command: Click on the sheet. The two handle points appear.
Click on the lower handle point. The handle point changes colour.
Press the space bar twice to switch to ROTATE mode. (The cycle alternates between
ROTATE, PUSH, TURN, SCALE, MIRROR)
** ROTATE **
Enter rotation angle [Base point/Copy/Undo/Reference/eXit]: 25 <ENTER>
|
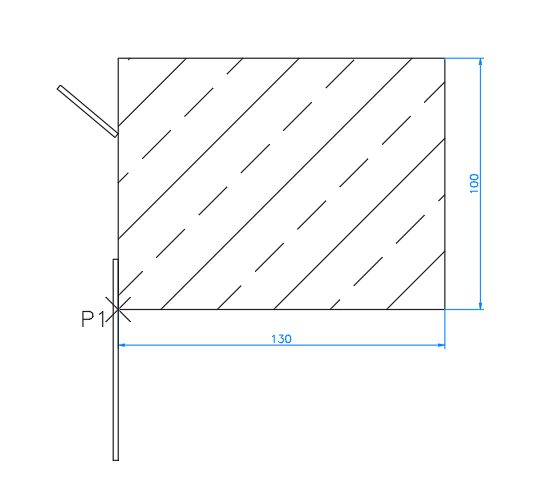
Draw with the "Sheet"  command a 60 mm long sheet at the bottom left of the concrete. command a 60 mm long sheet at the bottom left of the concrete.
|
Command: The following dialogue opens:

Set all parameters as required and confirm with OK
First point: <ORTHO> ON with F8 Move over P1 until the text ENDPOINT appears. Move the mouse upwards using snap tracking (F11). Enter 20 and confirm.
Next point <Ortho on> Move the mouse downwards using the snap tracking function (F11) type 60 <ENTER>
direction or <ENTER> for mid: Click to the left of the concrete to draw the sheet to the left.
Next point : <ENTER>
|
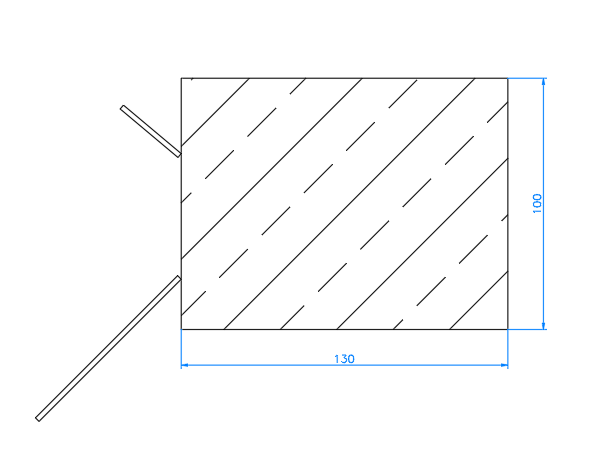
Rotate the sheet metal around the upper grip point by -45°.
|
Command:
Click on the bottom plate. The two handle points appear.
Click on the upper handle point. The handle point changes colour.
Press the space bar twice to switch to ROTATE mode. (The cycle alternates between STROKE, PUSH, TURN, SCALE, MIRROR)
** ROTATE **
Enter rotation angle [Base point/Copy/Undo/Reference/eXit]: -45 <ENTER>
|
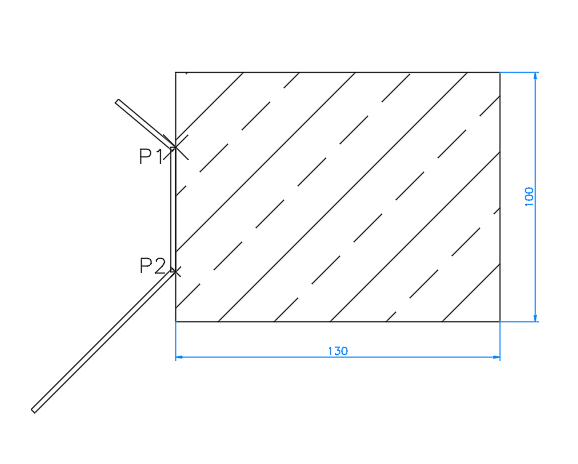
Draw with the "Sheet"  command the missing piece of sheet metal in between. command the missing piece of sheet metal in between.
|
Command: The following dialogue opens:

Set all parameters as required and confirm with OK
First point: Click on P1 with the mouse.
Next point: Click on P2 with the mouse.
Direction or <ENTER> for mid: Click to the left of the concrete to draw the sheet to the left.
Next point : <ENTER>
|
Connect the 3 sheets with the "Join Sheet" command  (From SYSCAD 2022 with the universal command "Join SYSCAD objects") (From SYSCAD 2022 with the universal command "Join SYSCAD objects")

|
Command:
Select membrane, metal sheets, wall objects. Click on the upper sheet at the bottom
Pick second sheet. Click on the middle sheet at the top end
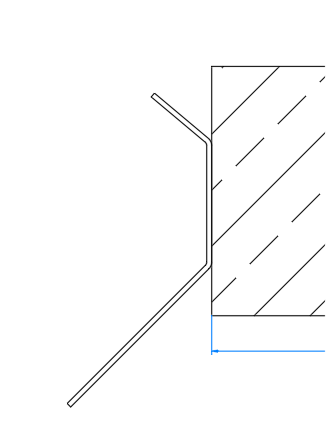
Now we only have two pieces of sheet metal:
Command:
Select membrane, metal sheets, wall objects. Click on the top sheet at the bottom end
Pick second sheet. Click on the lower sheet at the top end
|
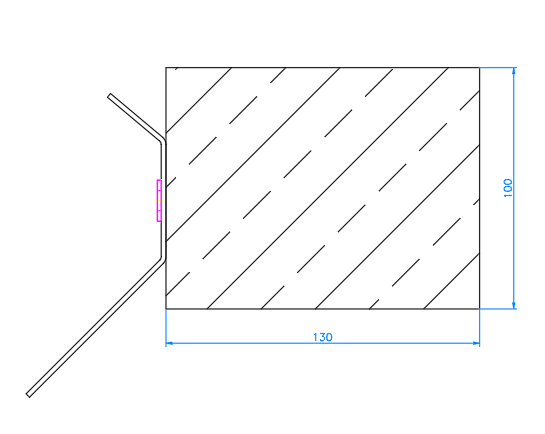
Add a washer to the centre of the sheet with the standard parts library 
|
Command: 
Enter 7089 in the search field (or 125 if you have switched off "Show ISO" in the SYSCAD variable)
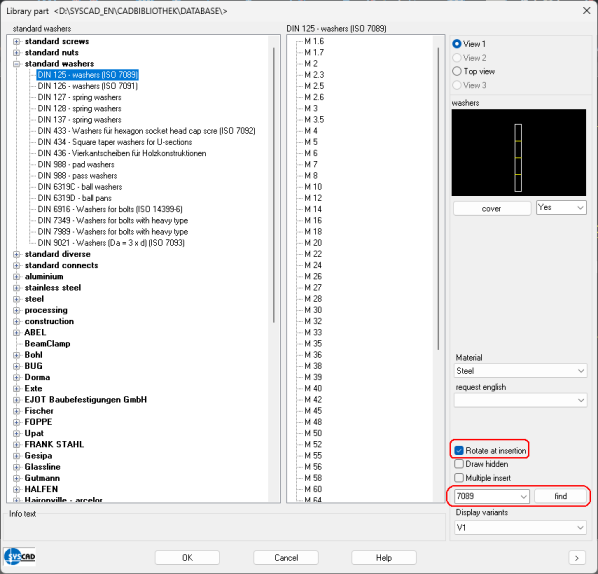
and click on Search. Select M8 and activate "Rotate at insertion". OK for the insertion.
Place the washer with the "ESNAP Midpoint" on the left of the sheet and rotate the washer by 180°.
|
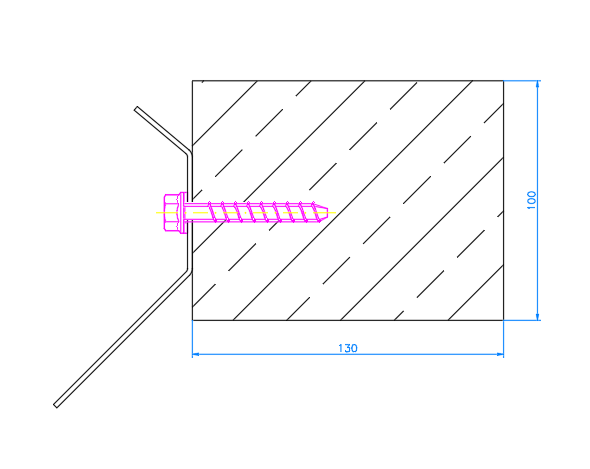
Attach a screw to the washer with the standard parts library 
|
Command: 
Enter BETONSCHR (Concret screws) in the search field and click on Search.
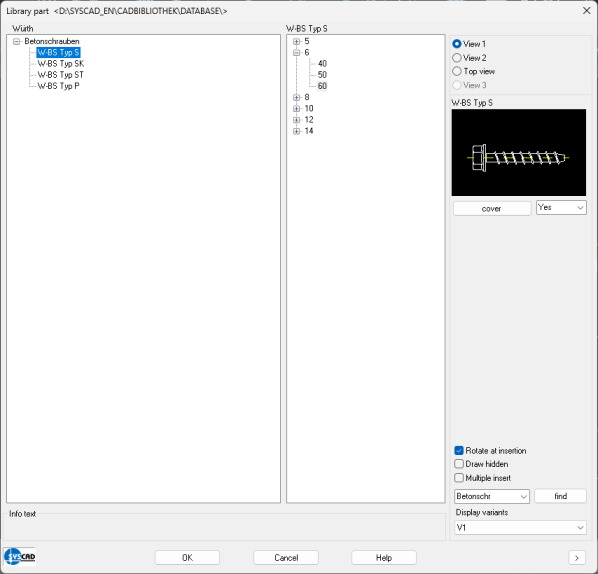
Select diameter 6 and length 60. OK for insertion.
Place the screw with the "ESNAP Midpoint" on the left of the washer and turn the screw 0°.
|
| 


